How to Change a Light Fixture: A Step-By-Step Guide
Changing a light fixture can seem like a daunting task, but with the right tools and a bit of know-how, it's a job most homeowners can tackle themselves. Not only will replacing an outdated or broken fixture improve the look and feel of a room, but it can also increase the energy efficiency of your home. In this comprehensive guide, we'll describe out to change a ceiling light fixture, from start to finish.
Let Urban Forge Brighten Up Your Home
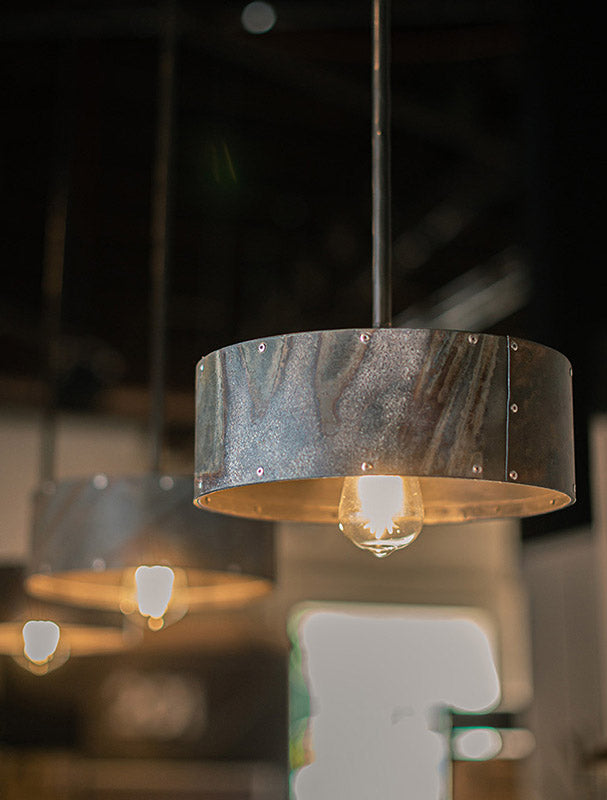
A hand-forged light fixture crafted by our skilled blacksmith artisans represents, not just illumination, but a unique piece of functional artwork that brings character and authenticity to any space. Unlike mass-produced fixtures, each hammer mark and subtle variation in a light fixture from Urban Forge tells a story of craftsmanship, making your lighting truly one-of-a-kind and ensuring that no other home will have exactly the same piece.
Beyond their aesthetic and practical advantages, these artisanal fixtures serve as conversation pieces that connect your home to centuries-old traditions of metalworking, while supporting skilled artisans who keep these time-honored crafting methods alive. Additionally, our hand-forged light fixtures can be customized to your exact specifications, allowing you to create lighting that perfectly complements your space's dimensions and style while incorporating personal touches that make it uniquely yours. Contact us to learn more about our lighting products!
Safety First
Before we dive into the step-by-step instructions, it's crucial to emphasize the importance of safety when working with electrical components. Electricity can be extremely dangerous if not handled properly, so it's essential to take the necessary precautions.
First and foremost, always turn off the power to the light fixture at the circuit breaker. This will ensure that there is no electricity running through the wires, reducing the risk of electric shock. Additionally, use a non-contact voltage tester to double-check that the power is indeed off before proceeding.
Wear protective gear, such as safety glasses and gloves, to shield yourself from any potential hazards. It's also a good idea to have a helper nearby in case you need assistance or encounter any unexpected issues.
Gather the Necessary Tools and Materials
Before you begin, make sure you have all the tools and materials needed for the job. This typically includes:
- Screwdrivers (flathead and Phillips head)
- Wire Strippers
- Pliers
- Electrical Tape
- Wire Nuts
- Ladder
How to Change Out a Light Fixture
With the safety precautions and supplies in place, you're ready to start the light fixture replacement process.
Step 1: Remove the Old Fixture
Begin by turning off the power to the light fixture at the circuit breaker. Use your non-contact voltage tester to confirm that the power is off.
Next, locate the mounting screws or nuts that are holding the old fixture in place and remove them. Carefully lower the fixture, taking note of how it is wired and connected to the electrical box.
Disconnect the wires, making sure to label them or take a photo to reference later. If the fixture is hardwired, you may need to cut the wires to detach it completely.
Step 2: Prepare the Electrical Box
Examine the electrical box to ensure it is in good condition and can safely support the new light fixture. If the box is loose or damaged, you may need to secure it or replace it altogether.
Clean the inside of the box, removing any debris or old wire connections. This will provide a clean surface for the new fixture.
Step 3: Install the New Fixture
Before installing the new fixture, read the manufacturer's instructions carefully. This will ensure you properly connect the wires and mount the fixture correctly.
Start by attaching the mounting bracket or crossbar to the electrical box, using the provided screws. Make sure it is securely in place.
Next, connect the wires:
- Attach the ground wire (usually green or bare copper) to the green or exposed ground screw on the mounting bracket.
- Connect the neutral wire (usually white) to the neutral wire in the electrical box.
- Connect the hot wire (usually black) to the hot wire in the electrical box.
Carefully tuck the connected wires into the electrical box, being mindful not to pinch or damage them.
Step 4: Secure the Fixture
Lift the light fixture and align it with the mounting bracket or crossbar. Attach the fixture to the mounting hardware using the provided screws or nuts.
If your new fixture includes a canopy or cover plate, place it over the electrical box and secure it in place.
Step 5: Test the New Fixture
Restore power to the circuit at the breaker and turn on the light switch. Ensure the new fixture is working properly.
If the light does not turn on, double-check your wiring connections and make any necessary adjustments.
Step 6: Finishing Touches
Once you've confirmed that the new light fixture is functioning correctly, you can tidy up the work area. Dispose of any packaging or debris, and use caulk or spackle to fill any gaps or holes left by the old fixture.
Additional Considerations
- If your old fixture was hardwired, be prepared to work with more complex wiring. Consult a licensed electrician if you're unsure about handling the connections.
- Always follow local building codes and obtain any necessary permits before beginning the project.
Changing a light fixture can be a straightforward DIY task, but it's important to approach it with caution and proper safety measures. By following this step-by-step guide, you can successfully update the lighting in your home and enjoy the improved aesthetic and energy efficiency.
